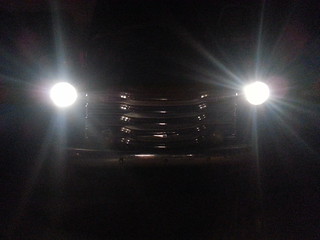
WOW! The new harness makes such a difference! No reason to switch to 12v for me. The 6v system works just as well when the contacts are all clean and tight. Lights all shine super bright, everything starts and runs fine, and best of all, NO MORE FIRE HAZARD!!!
It took us a little longer than expected, about two whole days hour-wise spread over three. A few broken bolts on the first day and some issues to troubleshoot by the third. All things considered, once we unhooked the turn signals due to a compatibility issue (5 wire vs 7), it went pretty smooth. The signals will eventually get set up separately.
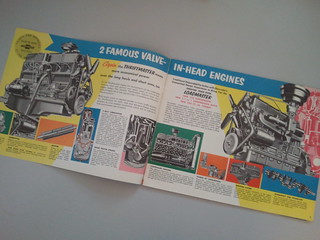
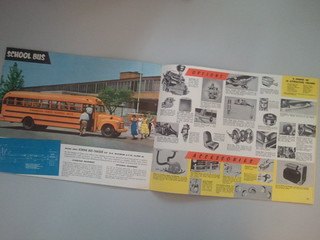
OLD vs NEW

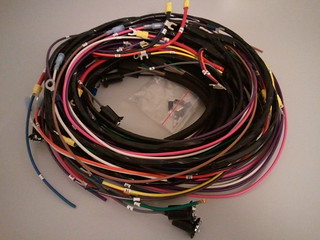
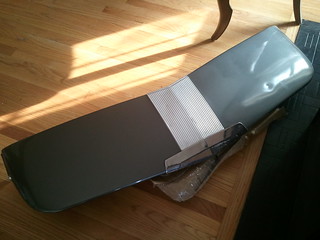
The new harness was a bit colorful for my taste so I finished it off by pairing and wrapping the lines as far down as I could with electrical tape. Time consuming but it makes it look a little less modern.
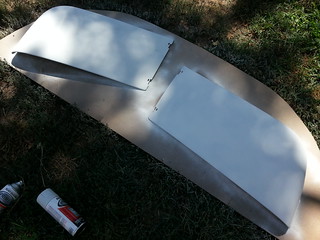
Other parts to be installed (didn’t get to everything)
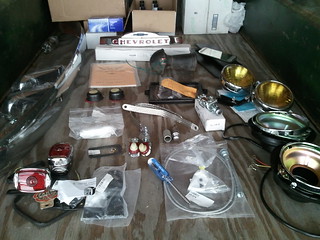
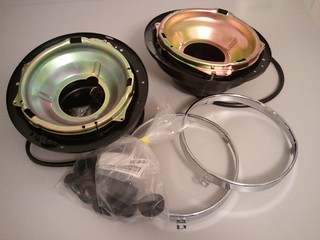
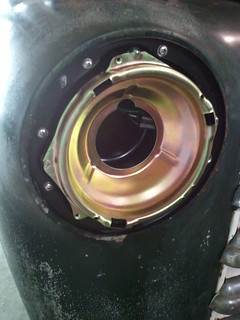
New buckets
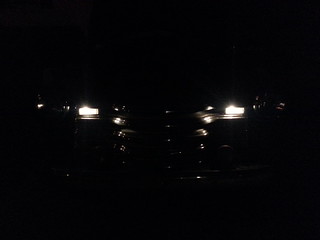
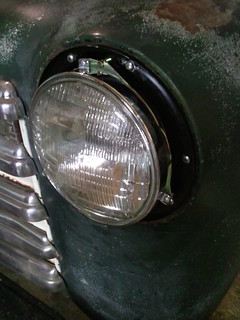
Bulbs installed
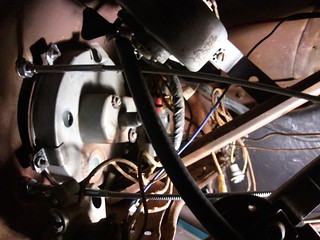
Bryan hooking up the starter
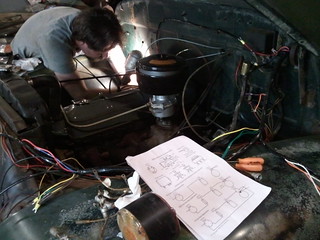
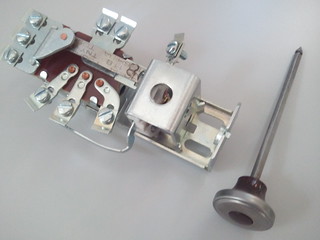
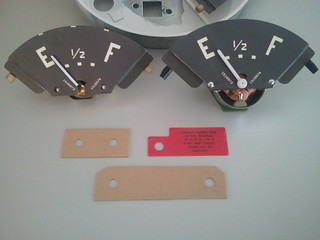
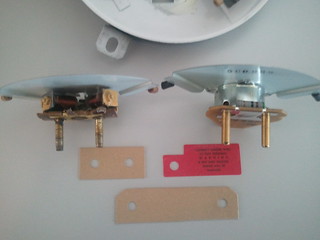
Hooking up the gauges and main lamp switch
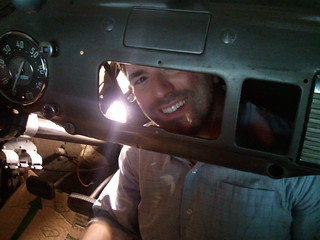
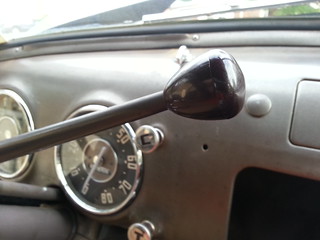
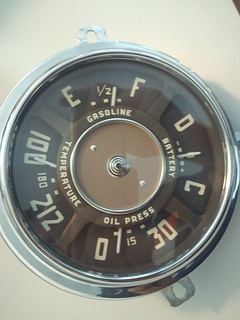
My view sitting behind the dash
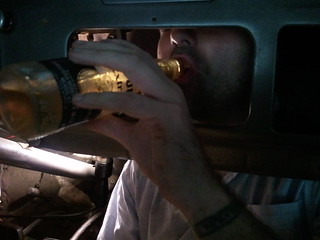
Staying hydrated behind the dash
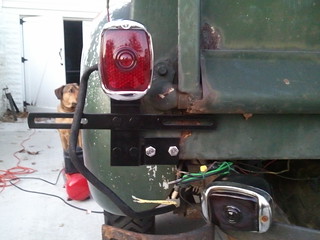
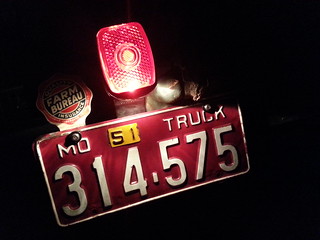
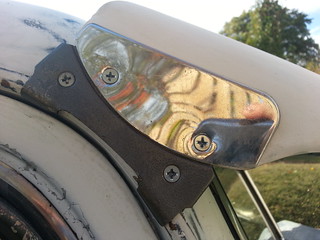
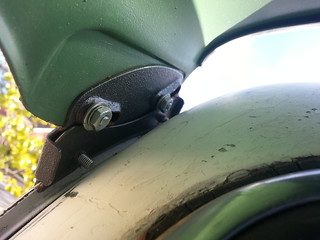
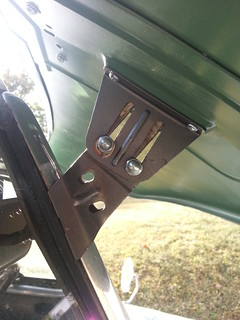
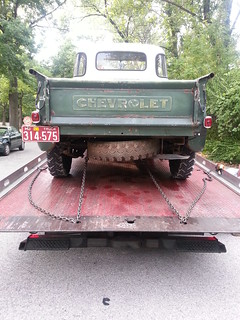
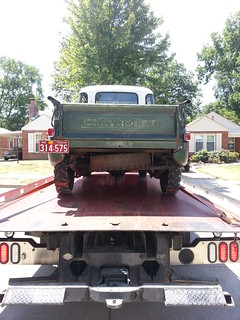
I ended up completely replacing the tail lamp assemblies and adding correct lamp brackets due to rust. As they came, the tail lights were dangerously dim and I noticed the glass lenses seemed much darker than the aftermarket plastic ones while shopping around. So, for safety reasons, I decided to go with new plastic lenses over reusing the original glass lenses. With the lenses, new harness and swap from two 6cp bulbs to a 6 and a 21cp bulb in each, they light up plenty clear even in bright daylight.
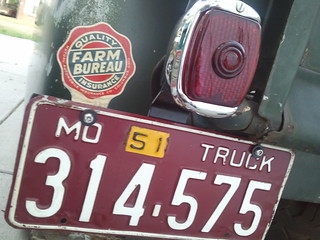
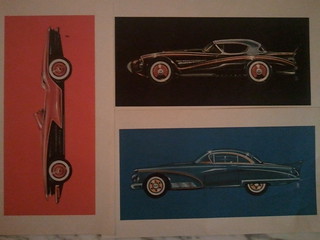
Old shot comparing the lenses.