Archive | Driveline RSS feed for this section

Long overdue updates…

19 Feb

If anyone is actually following this blog, my apologies for slacking off in 2014. I blame work and wedding planning for my absence. Good news is, while posting was at a minimum/nonexistent, activities and picture taking was not! I will be updating the blog with plenty of pictures and more specific project posts asap.

Until then, here’s an update based on my last post in Dec of 2013.
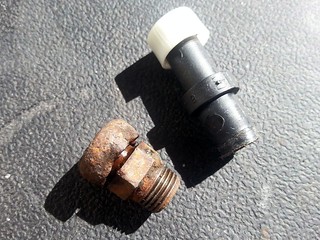
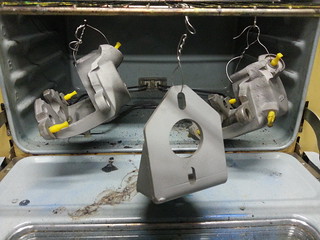
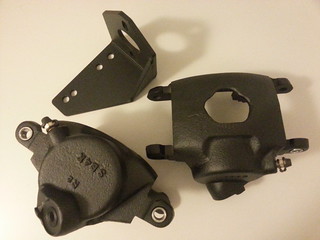
Brakes – Front discs, rear drums, dual MC, new lines.
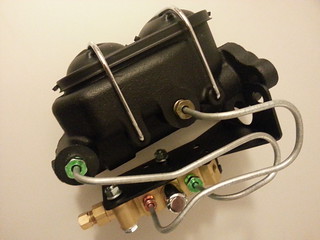
DONE. What a pain in the ass. If you’re debating it, just buy a kit that includes 100% of everything and save yourself the hassle. All the details down to finding the right banjo bolts for the front lines were a complete and major Charlie Foxtrot. I jacked up the bleeder threads on one of the calipers, spent a bunch of time messing around with cheap defective residual valves (finally sprung for the Wilwood valves), and the CPP/POL Corvette type MC that I powder coated did not fit with the Saginaw 4spd transmission…the lines ran right into the shifter levers and linkage. I must have spent a solid month looking into several other MCs including a Dodge D/W100 series truck MC which is the correct bore and has a plastic removable (relocatable) reservoir on a very narrow aluminum body. Would have worked perfectly but I wanted it to look somewhat original and the plastic bits just wouldn’t cut it. Eventually I settled on an early ’60s Mustang dual reservoir MC. Cast iron painted black and mounted perfectly on the CPP/POL bracket. It’s still close but it fits with 90∘ bends immediately off the fluid outputs. Overall, other than a little flexing in the MC bracket I’m pretty happy with the manual disc setup. I’ll get to the details in another post but everything works well and the truck stops as it should.
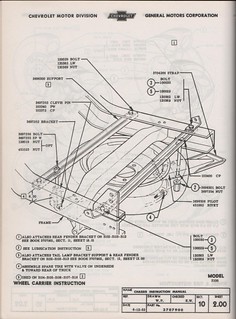
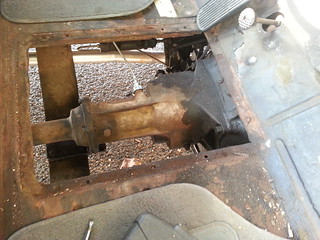
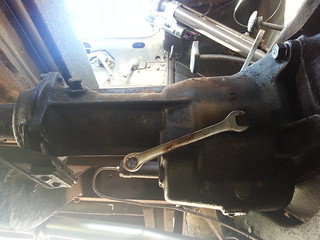
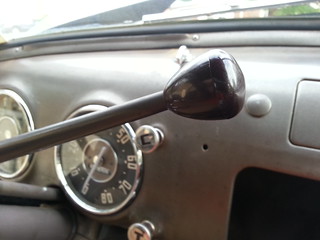
Transmission – Swap the original 3spd for a rebuilt Saginaw with a Patrick’s torque tube adapter.
DONE. The four speed Saginaw with the Patrick’s torque tube adapter kicks ass. I hate to lose the charm of the column shift but drivability is greatly improved. However, as much as I’d love to rig up the 4spd on the column and add a 3.55 rear gear set…I just cant. After driving two hours out to my wife’s family farm on a highway with a 70mph limit I now know I need an overdrive transmission and I already have a rebuilt T5 with a manual speedometer cable out of an S10 that is slated for the task sitting in my basement. That said, I’ll be on the Sag for another year or two.
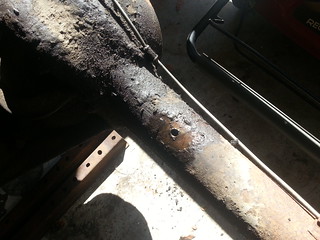
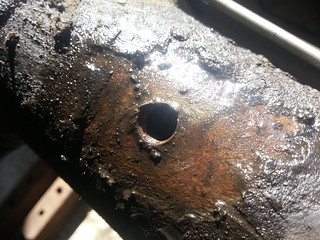
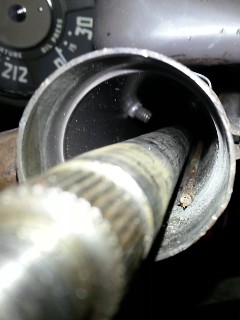
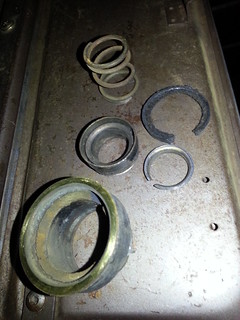
Also, turns out that grinding noise I was experiencing back in late 2013 was a U joint coming apart in the ball housing. Fixed it when I swapped in the Saginaw.

Transmission – attempt to rig up the column shifter as a 4OTT with reverse on a cable.
ABANDONED…but not forgotten. This would be so cool if someone could figure out how to do it and maybe even add a two speed axle or some sort of OD.

Heat – Install restored fresh air heater.
POSTPONED. I’m lazy and also ran into some front suspension/alignment issues at the end of the 2014 season so the truck has been off the road since mid fall. More about that in another post.

Lube – Oil/filter and chassis.
DONE. Usual maintenance. No real story to tell.

Paint? – Perhaps a rattle can prime and satin job this spring.
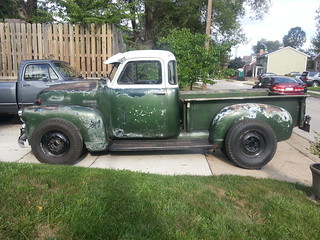
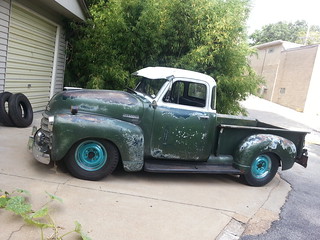
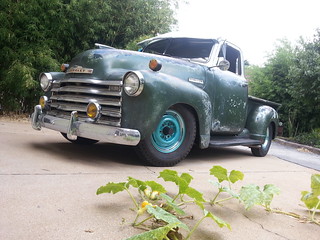
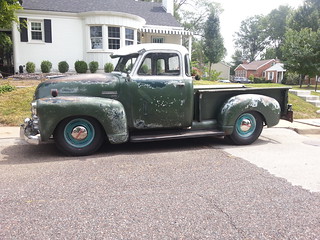
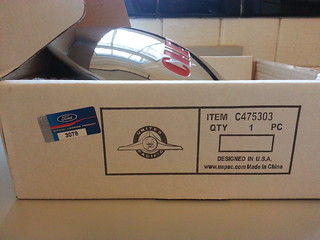
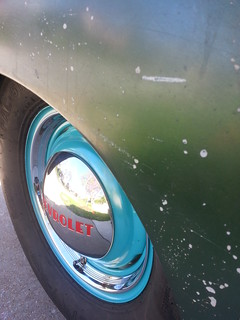
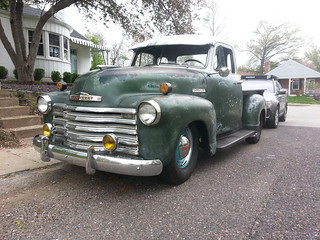
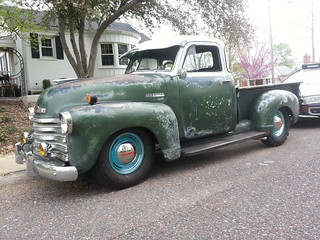
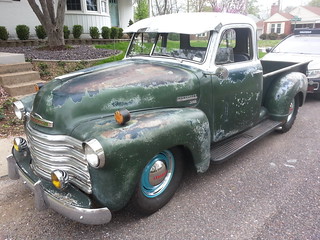
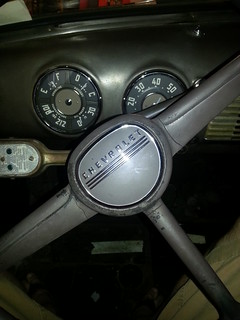
Uh, no.. WTF was I thinking when I posted that. I’m rollin’ full ’54 car caps on wide whites with all the chrome I can pile on. She stays as is until I can get the body taken care of and afford a decent paint job.

.

That’s about it for 2014. Now with spring around the corner, the wedding in the past and finally getting settled back in with my new position/location at work, I should be ready to get back to ol’ Bessie once the weather warms up a bit.

.
.

Oh yeah. I also bought a ’54 261 from the legendary Paul Kruse of Poverty Flats. …what a road trip that was!

.
.
.
.

Packin’ on the pounds…ol’ girl’s got a spare tire now.

8 Oct

Spare Tire Carrier Mounting

Routing the exhaust this weekend so I mounted the spare as best I could. Need to find an original cross bar, one of mine is a piece of angle iron at the moment. Once I get that I’ll blast and paint the main parts and replace the all of the hardware.

Best part is that the extra weight behind the axle brought the rear down a bit making the running boards look more level. Think I’ll still pull another leaf and add it back in under the blocks tho.

Rear end ventilation.

8 Oct

Nothin major. Just cleaned out the vent on the rear axle. It couldn’t have been any more clogged and might be the reason the differential cover seam is always wet.

I know, I know…still need to scrape the grime off. Whateves. It’s keeping the rust from taking hold.

20131008_110959

20131008_111008

20131008_111145

Comparison; Original vs What is sold as a replacement by online vendors. Which by the way, does NOT even come close to fitting the existing threaded hole.

20131008_112148

No apples in these pies.

30 Aug

New-ish tires from a friend. 7.50×16 10 ply farm tires are out and the new 6.50/7.00 6 ply Hercules pie crusts are in. Much better for town/hwy driving.

Side note: Those who think the 216 with a 3OTT and 4.11 can’t run at highway speeds… Mine routinely runs between 55-65mph for extended periods without issue. *knocks on wood*

20130815_172222

20130830_154738

20130830_154826

20130901_125244

Disc Conversion – Collecting Parts

10 Aug

Received the dual master cylinder, proportioning valve, push rod, bracket, residual pressure valves and lines for my disc conversion from Performance Online (Part Number: MCA4755-2). Took today off to powder coat the calipers, bracket and MC.

20130810_191703

20130810_193429

20130811_005557

20130811_213422

Don’t step on my teal suede shoes!

26 Apr

It’s been a bit of work but Bessie is finally startin’ to look like a real hot rod!

20130426_173633.jpg

.

Started out with “Sky Blue” but it was WAY too smurfy.
The remaining powder is going to a friend with a white/black on blue 1960 Impala.

20130317_184522.jpg

.

So a second batch of powder was ordered. Sterling Teal Micro Pearl. This stuff kicks ass! It looks a bit blue in some of the pics but it’s almost an exact match to Tiffany blue which is probably why it’s called Sterling Teal.

http://en.wikipedia.org/wiki/Tiffany_Blue

Color comparison.

20130421_125130.jpg

20130421_125428.jpg

Tiffany inspired

.

Process shots.

20130316_134808_2.jpg

20130417_215514.jpg

20130417_215611.jpg

20130417_220232.jpg

20130417_220232.jpg

20130417_223725.jpg

.

Tire prep.

20130421_110620.jpg

.

Mounted and balanced.

20130422_170233.jpg

.

Caps.

20130322_170605.jpg

Odd but whateves…
20130322_170806.jpg

.

Ready to dance!

20130425_173446.jpg

20130426_173822.jpg

20130426_173708.jpg

20130426_173841.jpg

20130426_173641.jpg

Lube …or lack there of…

30 Nov

I do blame myself for not checking something so simple sooner. I know better and there is no excuse for waiting till it gave me trouble popping out of gear on that 200mi road trip.

Drained some thick, milky, surprisingly not sludgy, crap from the differential and almost nothing from the transmission. …seriously, maybe a 1/2 Cup came out. Dark black too.

Now that they’re filled with nice clean fresh gear oil the transmission is quiet and it shifts wonderfully. …go figure. 😛

20121130_133259.jpg

20121130_133951.jpg
.

The manual says 4 pints 80W90 multi-purpose GL-5 for the rearend and 1.5pts for the Chev 3OTT. I filled em both till the tip of my pinky (stuck in the filler hole and slightly bent) got wet.
.

[edit]   If you’ve stumbled across this while looking for info on draining the differential on an AD truck … the bottom dif cover bolt is the drain.

You’re welcome.
.

Mast bearing replacement

13 Oct

Got the new mast bearing and steering wheel on Monday and installed it all on Tuesday. Went with the repopped version over NOS for a couple reasons…
One, the wire. NOS is cloth covered and is likely to dry out quicker than the alternative and become brittle. Besides, the rest of my replacement harness is plastic covered and no one will ever see this part. …he who judges shall get the f out and walk.
Two, I was concerned the plastic insulator part might also be brittle or become brittle more quickly than a newer piece.

Turns out there is no discernible difference between the original and the repop other than the plastic covered wire. Materials are otherwise identical and the insulator part that I thought was plastic turned out to be a rubber (or silicone) material.

Installation was a breeze. Rubbed a bit of grease on the jacket and it slid right into the column and the wheel went on without issue.

I had a ton of pictures of the reassembly process but the microSD card in my phone crapped out and I lost them all. Good news is, I drove the truck all week and messing with disassembling and reassembling the horn button has inspired me to get moving on restoring the original 6v noise maker.

.

About the new steering wheel… I ended up with three wheels from two different vendors (both in Missouri). The short story is that I ordered the black paintable wheel from a vendor in Kansas City, MO then found a pre-painted version for less from another vendor located in Independence, MO so I ordered that one too with the intention of returning the first one.

The black one was gorgeous! Perfectly smooth, super glossy, fit the mast splines well and the horn contact dropped right in. The painted one … horrible. Looked like the casting was trimmed by a 12yr old with a straight razor and the paint shot by a blind man in a dust storm, the splines didn’t line up well and the horn contact didn’t even come close to fitting. I called and they promptly sent another claiming the first one was a fluke. The second one was better. Not as nice as the black one but good enough that it looks good on the truck and clean up shouldn’t be much more than a bit of sanding and a repaint if I should ever become so anal retentive that it bothers me. The horn contact still had to be significantly reworked to fit.

I had several photos documenting the wheels, installation and a few of the cab with it installed but those too were lost when the SD card died.

.

Having nothing at all to do with the truck. Due to the tragic loss of so many amazing and most likely award winning photographs, I promptly went to the local “Shack” and purchased a brand spankin new 32gb SanDisk Ultra microSD card.

I leave you with a stunning picture of the aforementioned card.  🙂

sanDiskMicroSD

Mastbearingectomy.

4 Oct

Tank is in, everything is good …then the steering mast bearing takes a crap.

Took a bit of work to remove but I got it out and I’m waiting on a new one which should arrive by Monday.

I’m lucky the actual bearing assembly only broke loose from the mast jacket. It coulda separated and dumped all the ball bearings down the column into the steering box!

20121004_170115.jpg

20121004_170136.jpg

20121004_170651.jpg

20121004_170836.jpg

20121004_170858_2.jpg

20121004_172353.jpg

20121004_172746.jpg

20121004_174037.jpg

20121004_174046_2.jpg

20121004_174554_2.jpg

20121004_174506.jpg

What I believe happened was that the material between the jacket and bearing assembly deteriorated and the tension of the spring pushed the bearing portion out of the jacket over time.

Knob and Chains

26 Jul

New shift knob and stainless tailgate chains installed!

20120721_184623.jpg

(Trick to installing the shift knob is to nuke it for 30sec. then smack it on w/a rubber mallet.)