Gremlin hunting. …cont’d.
5 Jun
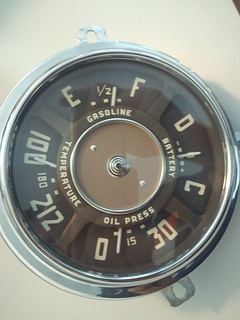
Finally received the parts to complete the combination meter along with some other odds and ends.
Still waiting on the backordered headlamp switch though … if it takes long enough, I’ll go ahead and order a new harness and period correct fuse block to run accessories through and just get it all done at once.
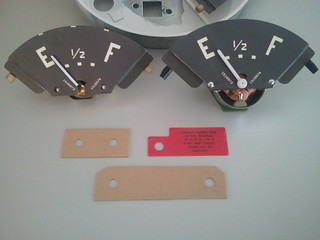
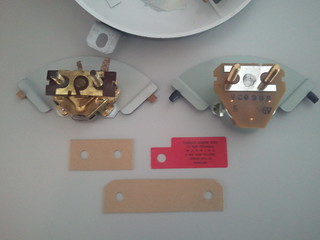
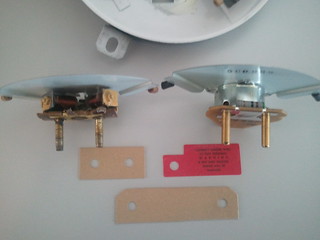
For a long while now the fuel gauge has intermittently worked. …more often not, but when it was working it was never all that accurate. At some point after disassembling the combination meter I noticed one of the posts on the back of the gauge was loose. Turns out its simply a knurled section of the post that presses through the fiber board on the back side of the gauge and the board had deteriorated around it. Unfortunately this fitting also holds the completed connection between the post and the gauge innards together. Although I was able to repair it by making a permanent connection with a dab of solder I chose to order a replacement gauge. When I received the replacement fuel gauge I immediately noticed that it didn’t match the decals I used to reface the rest of the gauges. So, I ended up having to order another decal sheet.
There are a lot of differences between the original and new gauges. The most annoying is that the new one is a smidge taller causing the trim plate to press against the needle. This was remedied by gently grinding out the edge making contact with the needle and slightly bending the center portion of the trim plate outward to clear the needle base.
After refacing. Insulators, warning tag and gauge comparison. (Old on the left, new on the right.)

Reassembled combination meter.

Side note: My kitchen counter tops make an awesome neutral gray background. 8)


No comments yet