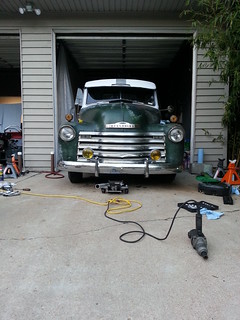
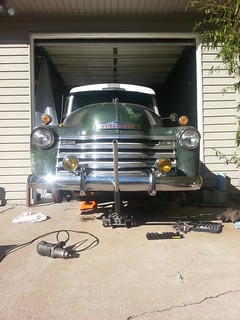
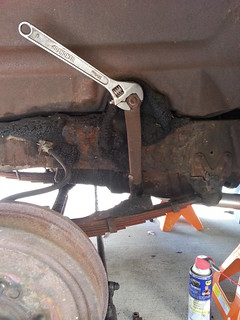
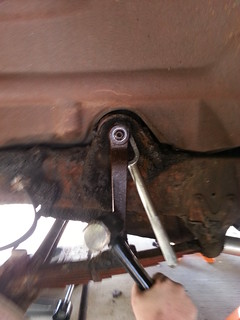
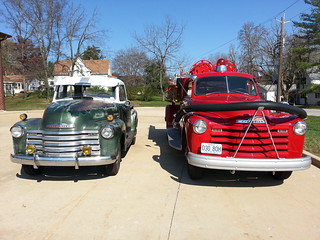
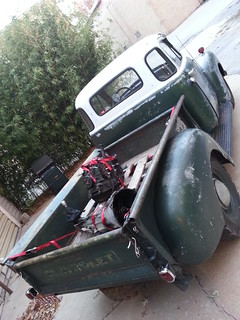
ketchup.

17 Apr

I’m finally catching up on the blog this week, so this update will be several events wrapped into one post. Enjoy!

.

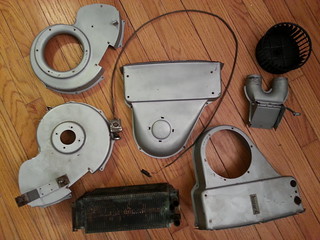
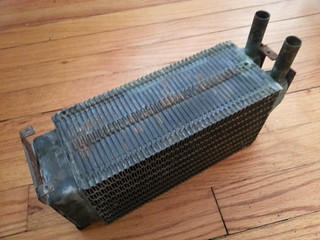
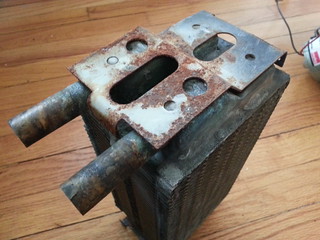
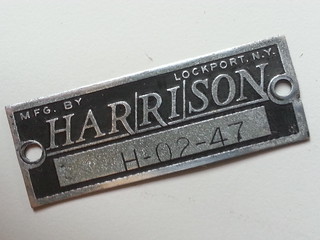
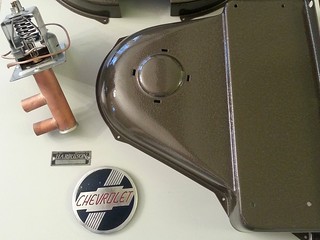
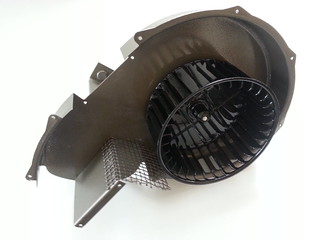
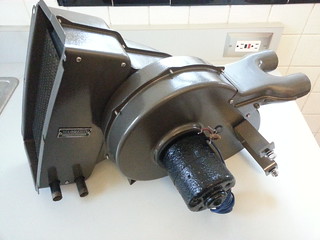
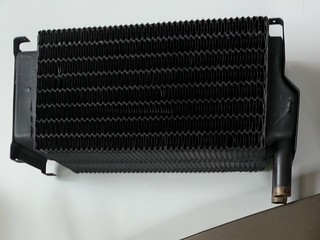
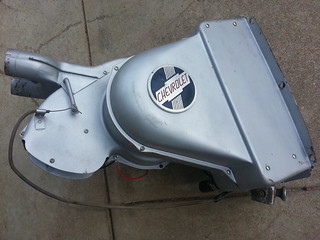
1. Harrison Fresh Air Heater Restoration

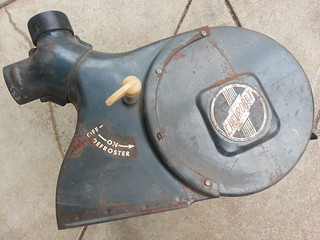
The heater is complete and it looks absolutely AMAZING but the inner cowl where it attaches is pretty badly rusted through so I’m a bit nervous about removing the delete plate, which is the only solid part holding the top and bottom halves of the cowl together. As a result, this probably won’t get installed until the cab gets repaired.

BEFORE 
– with a good coat of spray paint and almost zero rust.

20130222_123546.jpg

20130222_180850.jpg

20130222_172700.jpg

20130222_172717.jpg

20130222_172341_2.jpg

20130220_164330.jpg

AFTER
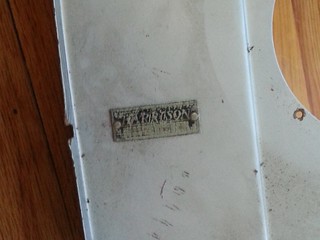
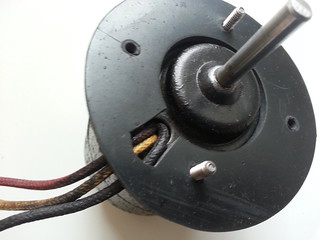
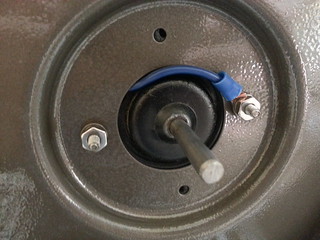
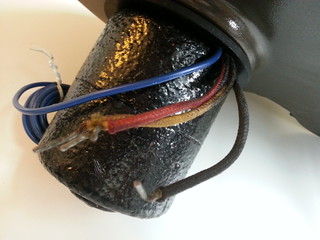
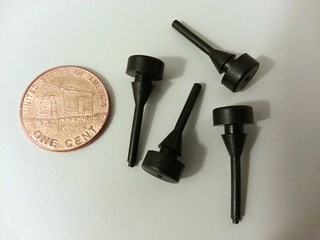
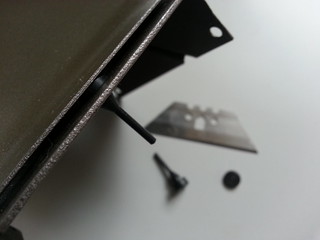
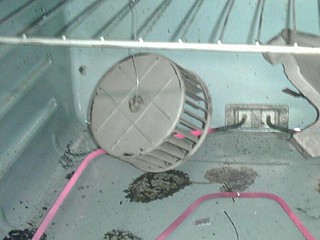
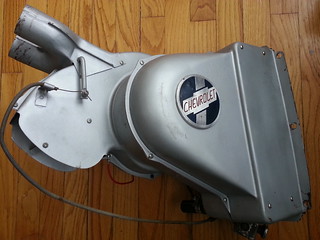
– Emblems cleaned and repainted where needed, case and core blasted cleaned and painted, motor gasket modified and installed and (just for fun) blower wheel powder coated.
(Not pictured – new defroster cable and knob and a restored temp knob and rod were purchased for the Ranco valve.)
20130315_141439_2.jpg

20130322_155637.jpg

emblem

20130309_091026.jpg

20130322_171634.jpg

20130309_091203.jpg

20130322_135628.jpg

20130322_135816.jpg

20130322_142737.jpg

20130322_142957.jpg

20130305_202401.jpg

20130322_150245.jpg

20130223_2_2

20130322_144239.jpg

20130322_171111.jpg

20130322_171517.jpg

.

.

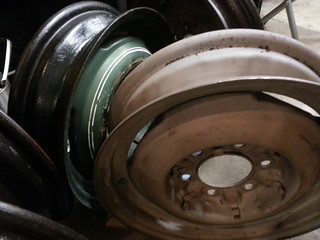
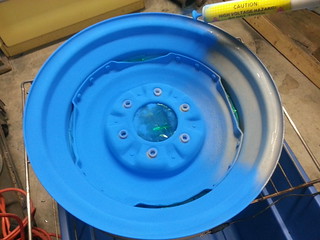
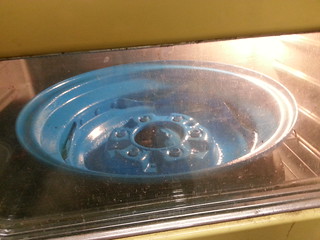
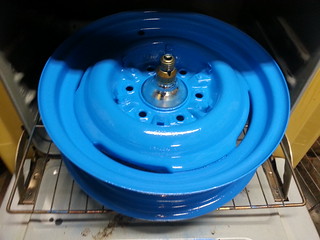
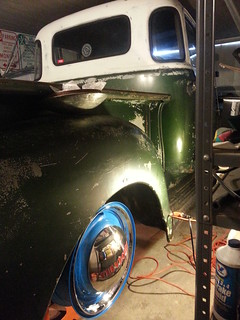
2. Stripping the Wheels and Powder Coating

20130316_142001_HDR.jpg

20130316_152034.jpg

20130317_133552.jpg

20130317_161545.jpg

20130317_162858.jpg

20130317_184522.jpg

20130326_094001.jpg

Not feelin’ the color so we’re gonna switch it up to more of a teal … specifically, Sterling Teal Micro Pearl (2nd from the left in the photo below).

20130405_162153.jpg

.

.

3. Still Working on the Horn

I got the horn working a while back but on the first drive with everything live, it grounded somewhere and wouldn’t stop honking.

I dug in and found that the contact brush was slipping off the contact ring, into the column and touching the mast spring which was closing the circuit. This was a direct result of the not so perfect quality of the repop steering wheels I mentioned having issues with in a post several months ago. This time it’s the contact brush sleeve. Plain and simple, it’s too damn short (by about 1/4″) and allows the end of the contact to pop out of position which either honks the horn constantly or ends up ripping the end of the brush off, jamming it in the column while you’re trying to pull off the road.

The solution, use an original or NOS sleeve which is about 1/4″ longer. Not so simple. The hole in the wheel is not the right size to fit them so you need to bore it out to 3/8″. With the right bit and a good friend to hold the wheel in place you can widen it with a power drill. It wouldn’t fit on our drill press due to the circumference of the wheel.

Once the sleeve is pressed in with the contact in place and the wheel on the mast you’ll notice that the end of the brush is adequately supported. As a precaution, also made a sleeve out of PVC that fits over the mast spring and protrudes just enough above the contact ring on the mast bearing to prevent the contact from slipping into the column.

.

.

4. Speedometer Woes

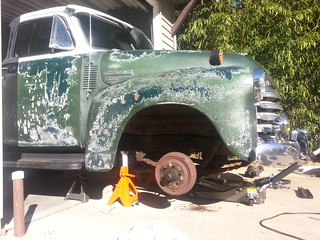
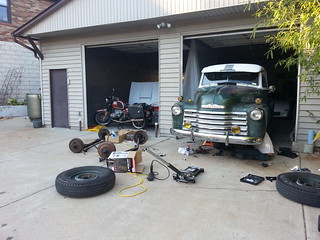
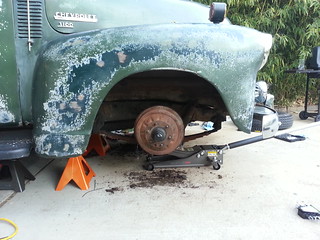
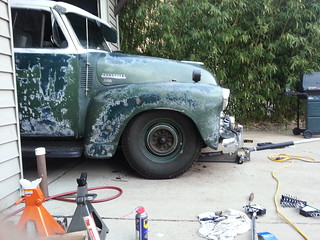
Rebuilding the speedometer was one of the first tasks I took on in the restoration once the ol’ girl was running. Almost immediately after the needle began bouncing again. At first it was infrequent, only happening at higher speeds but it eventually got worse. To the point that at speed it would sweep almost the whole gauge. So, while the wheels were off for powder and the truck on stands, I figured I’d take a look at the driven gear for the speedometer located at the transmission. Not sure if it was the culprit but the shaft on the driven gear was obviously a bit bent as it had a bit of an orbit when the gear end was spun. My assumption is that this was causing the cable to bind and release which caused the needle to bounce.

In the photo below, the driven gear on top is from the 3spd transmission on my truck and the one on bottom is from a 3spd out of a ’48 3100 that I had on a shelf. There is a difference in driven gear tooth count and width and they are not compatible with each other’s drive gears.

20130404_170408.jpg

I ended up purchasing a correct driven gear replacement from a fellow Bolter online. Hopefully this (along with a speedometer correction adapter to compensate for my tire size) cures the issue.

.

.

5. Roll Reduction

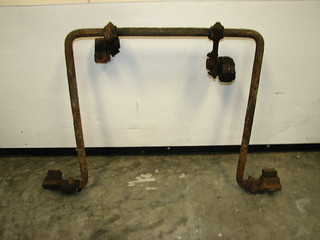
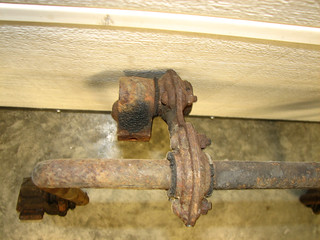
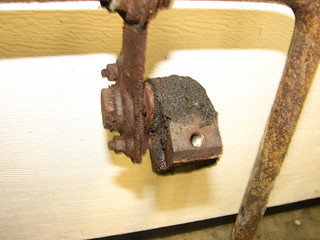
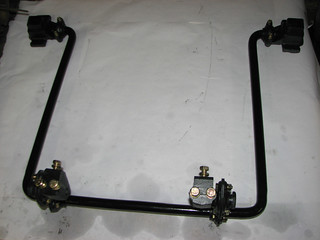
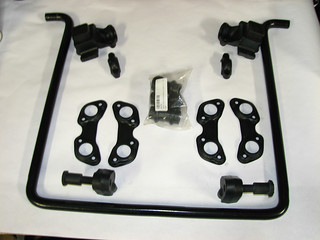
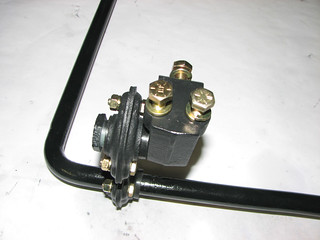
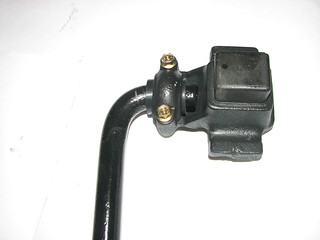
Found an original restored Chevrolet Advanced Design Suburban sway bar on ebay. Totally at random. I searched my usual terms for all truck parts correct for Bessie and this thing came up at an amazingly low price with 30 seconds left. I bid and won.

$T2eC16hHJHgE9n0yHGgYBRHTW6MD-g~~60_57

$T2eC16FHJGkE9no8fzC,BRHT(nmM6!~~60_57

$T2eC16RHJHQE9nzEzNkdBRHT(P6jRQ~~60_57

$T2eC16ZHJFoE9nh6pM44BRHTU6K8-g~~60_57

$T2eC16RHJF8E9nnC7RF1BRHT(7T,7!~~60_57

$(KGrHqNHJEIFENw3Uu0CBRHTVld03!~~60_57

$T2eC16FHJG!E9nm3pwD0BRHTWNMpzw~~60_57

The Rusty Fifty One has a new home!

31 Mar

No, I didn’t sell Bessie. Nor did I build my dream garage. …yet. What I did do was finally move the Rusty Fifty One blog off the WordPress dot com servers and on to my own. Going from the WP dot com template to the WP dot org version was basically a crash course in CSS and PHP.  Nothing sept the content transfered, so I figured as long as I was under the hood, I might as well streamline the details of the design a bit. The changes are subtle but in my opinion make a difference and eventually I’ll be adding features to make the site a bit more search friendly.

Without further ado, I present the new and much improved RUSTYFIFTYONE.COM!!!

.
.
.

new-isnt-always-better-when-it-comes-to-coca-cola

She’s packin’ heat …or will be soon.
21 Feb

Picked this up the other day…

20130220_164324.jpg

…to replace this.

20130220_162043.jpg

I’m actually planning on restoring both. Since the recirculated heater is in great condition and original to the truck it’ll end up as garage art and the fresh air heater will end up in Bessie.

.

.

Artsy shot.

chevHeater

No more junk in her trunk

2 Feb

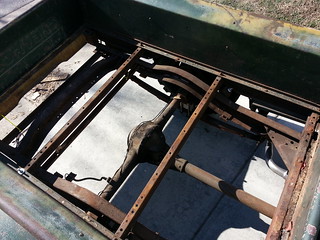
Got a warm winter weekend so I cut out the rotten sheet of plywood and the original bed strips in preparation for new wood and stainless strips this spring.

The original strips were so far gone that I just used bolt cutters on em and a small sledge to break up the wood.

20130202_120322.jpg

The bed front is shot too. Not sure yet if I’ll patch in the lower half or just replace the entire panel.

20130202_120336.jpg

Doing what I shoulda done when I was doing everything else related to it in the first place

1 Feb

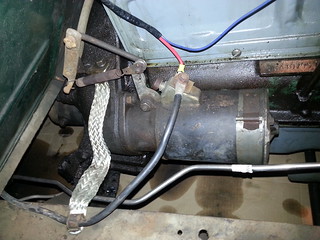
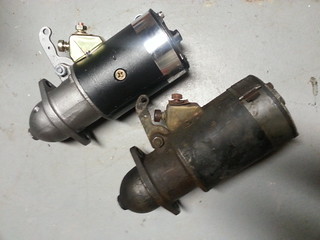
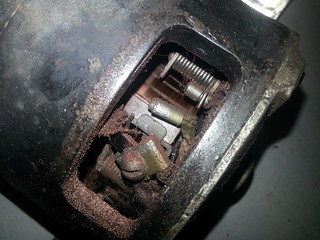
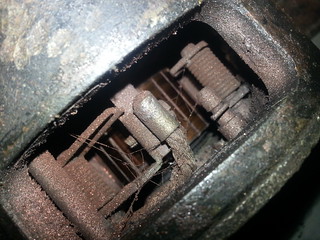
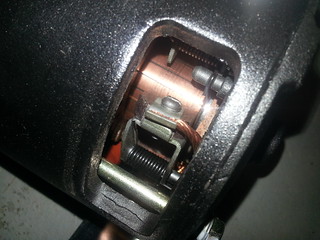
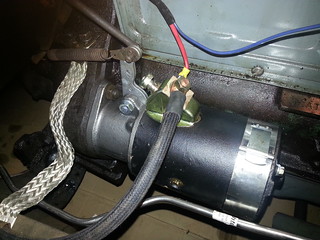
The only items I didn’t replace when I rewired Bessie were the front marker lamps, the generator, starter and the main power cable. The good news is, the marker lamps work great!

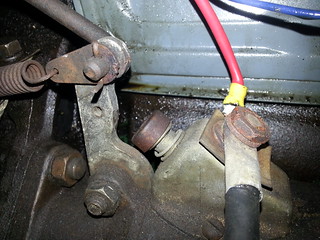
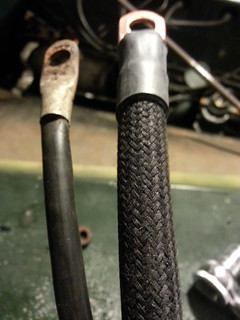
…but she’s been slow starting for a while now. My guess is the issue is between the battery and the starter. Battery tested fine which means the generator is doing it’s job and I knew the main cable was replaced at some point with a plastic covered one. I didn’t realize until just recently that the cable wasn’t the right gauge (it’s a #4 and it should be a #1) and therefore probably not able to supply enough power.

Been collecting parts to do it for a several weeks now and the new 6v starter arrives tomorrow morning. I’ll be pulling the old starter out tomorrow afternoon and replacing the main cable along with a couple other minor miscellaneous items that have been on my to-do list for a while now. …horn contact, dome light, etc.


UPDATE:

Got the starter and main cable replaced and now she starts sans hesitation every time!

20130201_161735.jpg

20130201_162424.jpg

20130201_162810.jpg

20130201_165004.jpg


20130201_165048.jpg

20130201_165105.jpg

20130201_165139.jpg

20130201_165152.jpg

20130201_170956.jpg

Lube …or lack there of…

30 Nov

I do blame myself for not checking something so simple sooner. I know better and there is no excuse for waiting till it gave me trouble popping out of gear on that 200mi road trip.

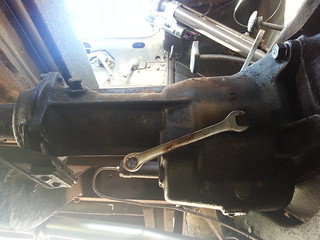
Drained some thick, milky, surprisingly not sludgy, crap from the differential and almost nothing from the transmission. …seriously, maybe a 1/2 Cup came out. Dark black too.

Now that they’re filled with nice clean fresh gear oil the transmission is quiet and it shifts wonderfully. …go figure. 😛

20121130_133259.jpg

20121130_133951.jpg
.

The manual says 4 pints 80W90 multi-purpose GL-5 for the rearend and 1.5pts for the Chev 3OTT. I filled em both till the tip of my pinky (stuck in the filler hole and slightly bent) got wet.
.

[edit]   If you’ve stumbled across this while looking for info on draining the differential on an AD truck … the bottom dif cover bolt is the drain.

You’re welcome.
.

Attitude Adjustment: Ol’ girl is at an all time low…

18 Nov

20121118_163315.jpg

20121118_132009.jpg

20121118_115431.jpg

20121118_120151.jpg

20121118_130708.jpg

20121118_130637.jpg

20121118_132448.jpg

20121118_131817.jpg

20121118_131848.jpg

20121118_145851.jpg

20121118_160136.jpg

20121118_163359.jpg

20121119_200738.jpg

20121120_103223.jpg

20121120_085907.jpg

20121120_103303.jpg

20121128_164047.jpg
.
.

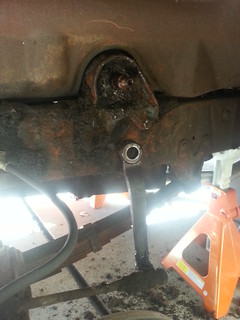
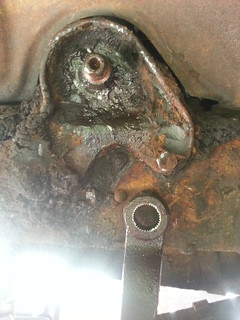
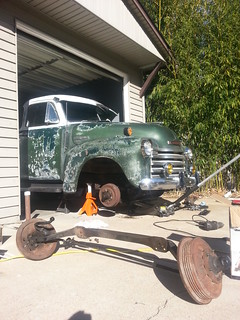
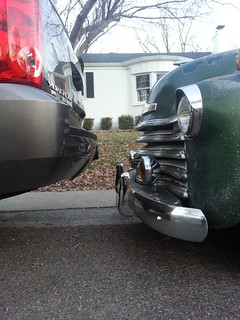
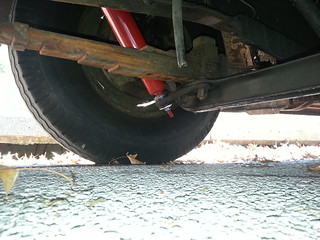
Front: Nostalgia Sid’s 4″ Drop axle plus the two smallest leaves moved to the top side of the pack. 7.50×16 tire.
Stacking the removed leaves on top of the pack simply takes up the slack in the U-bolts and allows the remaining springs to sag a bit. The scrub line remains unaffected and within Sid’s original specs for the 4″ drop axle.

20121120_103415.jpg
.
.

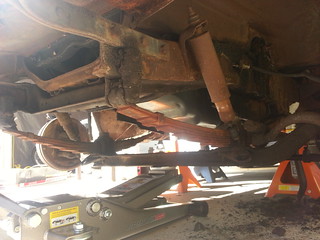
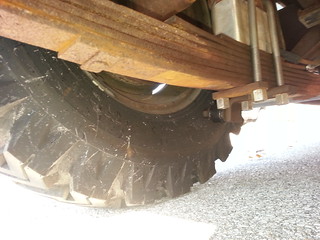
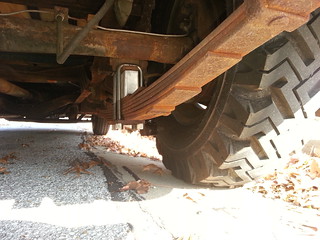
Rear: Nostalgia Sid’s 3″ Drop Block plus the two smallest leaves moved to the top of the pack. 7.50×16 tire.
Stacking the removed leaves on top of the pack results in an additional 0.5″ drop for the rear plus additional sag as a result of subtracting the support of the removed springs.
The scrub line is currently below the rim but I want a little more rake in the stance so I plan on pulling the removed leaves off the top of the pack which will bring the rear axle 0.5″ closer to the lower shock mount.

20121120_103551.jpg

20121120_103531.jpg
.
.

The only issue we had was with the bolts that hold the rear leaf packs together. Both were rusted solid and eventually snapped. A quick run to St. Louis Spring Company and we were back in business.

Nostalgia Sid’s Dropped Axles – www.droppedaxle.com
St. Louis Spring Company – www.saintlouisspring.com
.
.

…to anyone who noticed…
Yes, I went from self-adjusting Bendix drum brakes to the older style Huck type.
The axle came from a fellow bolter with ~500mi on brand new kingpins and rebuilt drums. The plan is to upgrade to a CPP disc kit (which I already have) and dual master cylinder when my wallet allows or the front drums need another rebuild.

And, yes, we replaced the shocks. AutoZone cheapies and they work great.

The ride is phenomenal, steering is vastly improved and, best of all, NO RUBBING even with those big honkin 7.50×16 10 ply tires!

Honk, honk!

17 Nov

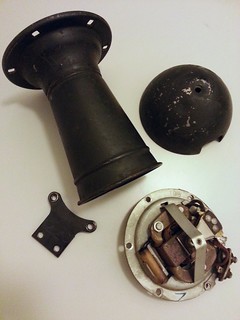
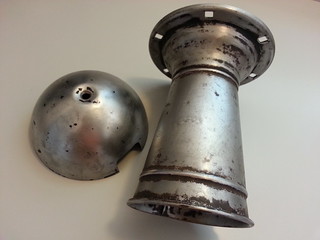
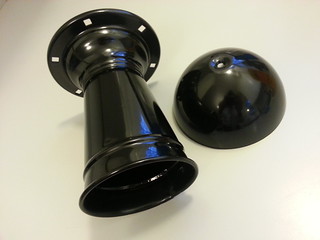
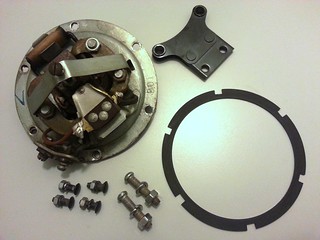
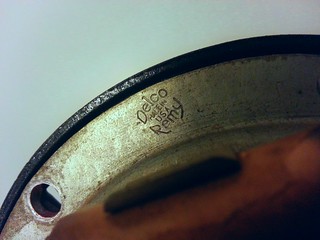
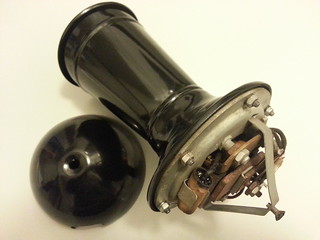
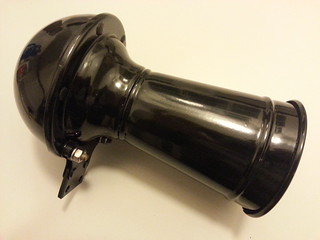
The original 6v Delco Remmy horn is done!  Just I was getting sick of yelling “HONK!” along with a few choice expletives every time someone cut me off.

Aug. 4, 2012
Sounds great, just needs paint.

20120804_220145.jpg

(Cool site on the Delco Remy Division of GM – http://www.delcoremyhistory.com/Products/horns.htm)

.

Oct. 13, 2012
Baby steps… Finally got the paint stripped.

20121013_122834.jpg

.

Nov. 17, 2012
Shot, chipped, sanded, reshot, assembled and ready to mount!

20121114_164552.jpg

20121116_234345.jpg
Made a new seal out of an extra oil filter gasket I had.

.
20121116_234728.jpg

20121117_000123.jpg

20121117_001120.jpg

ROAD TRIP!

29 Oct

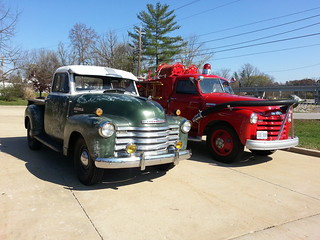
Set out on a 200mi back road adventure to pick up a Mazada rotary and transmission for a buddy. IT WAS AWESOME! The 216 w/ 3OTT, 4.11 and 16×7.50 tires did just fine at 55-60mph on some of the larger rural roads. Though the day wasn’t with out issue… on our way out of the neighborhood the brake pedal hit the floor. Gave the system a once over and found no signs of leakage so we made our way over to the local parts store to top off and bleed them in the parking lot. Things looked good so we headed out towards Troy, MO via 100, old 100, T, TT and 47 through Washington. Eventually we passed through Labide, where we found this ol’ girl.
Couldn’t resist snapping a couple pics.

20121028_131848.jpg

20121028_131825.jpg

.
We finally made it into Troy a couple hours after leaving St. Louis. Mazada’s Wankel motors are light so we simply heaved it onto the makeshift plywood bed along side the transmission, strapped them both in place and made our way home.

20121028_175648.jpg

.
As we were passing through west Alton I noticed a vibration while decelerating in third. I later found the transmission mount (a chunk of tractor tire installed by someone long before me) had slipped out of place. We made it home safely and I ordered a new mount that night.

One small step and no giant leaps.

13 Oct

Aug. 4, 2012
Sounds great, just needs paint.

20120804_220145.jpg

(Cool site on the Delco Remy Division of GM – http://www.delcoremyhistory.com/Products/horns.htm)

.

Oct. 13, 2012
Baby steps… Finally got the paint stripped.

20121013_122834.jpg