ketchup.
17 Apr
I’m finally catching up on the blog this week, so this update will be several events wrapped into one post. Enjoy!
.
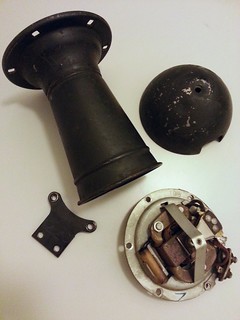
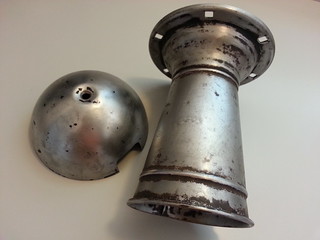
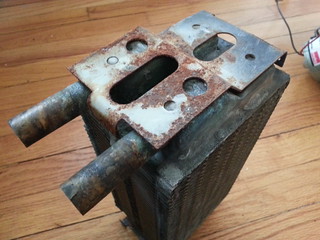
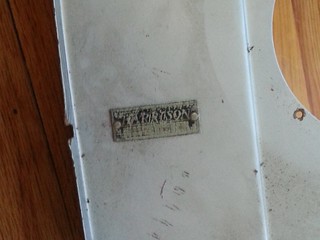
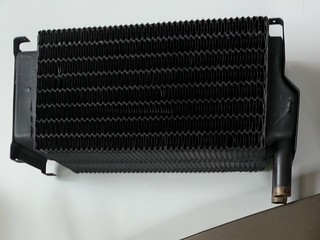
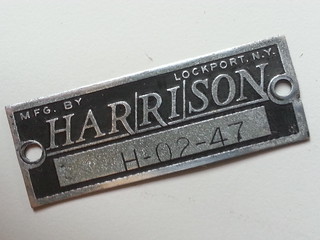
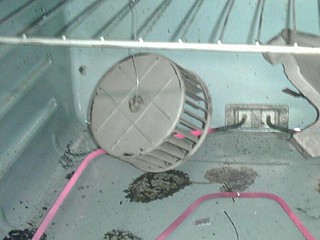
1. Harrison Fresh Air Heater Restoration
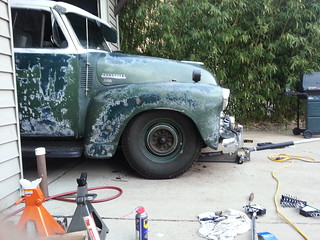
The heater is complete and it looks absolutely AMAZING but the inner cowl where it attaches is pretty badly rusted through so I’m a bit nervous about removing the delete plate, which is the only solid part holding the top and bottom halves of the cowl together. As a result, this probably won’t get installed until the cab gets repaired.
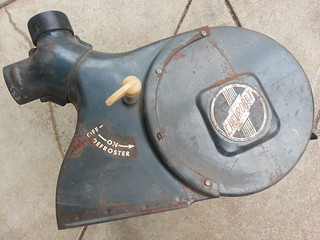
BEFORE
– with a good coat of spray paint and almost zero rust.
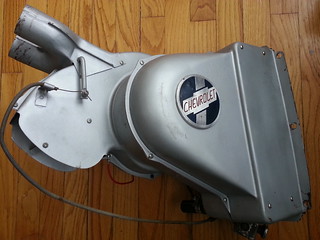
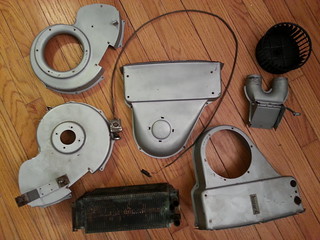
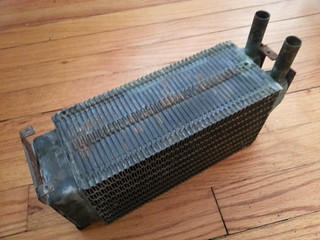
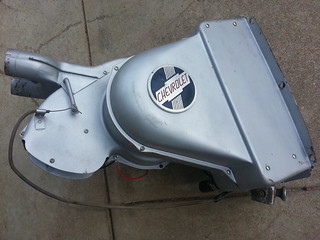
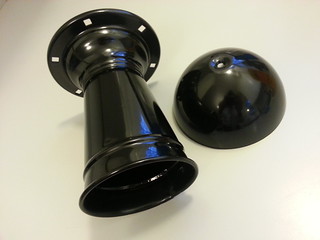
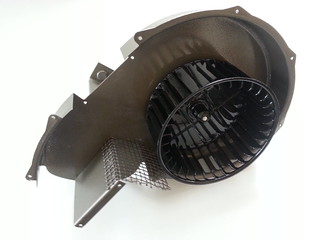
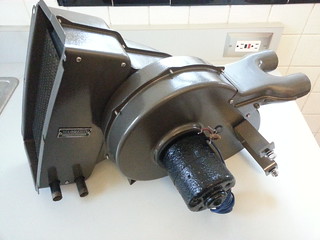
AFTER
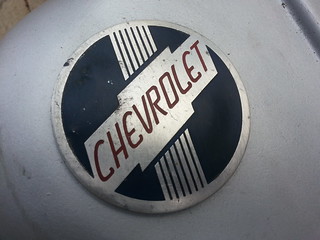
– Emblems cleaned and repainted where needed, case and core blasted cleaned and painted, motor gasket modified and installed and (just for fun) blower wheel powder coated.
(Not pictured – new defroster cable and knob and a restored temp knob and rod were purchased for the Ranco valve.)


.
.
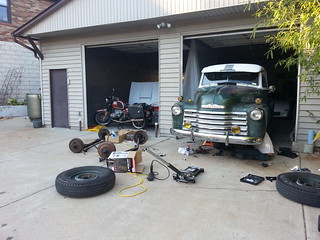
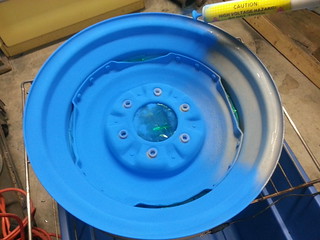
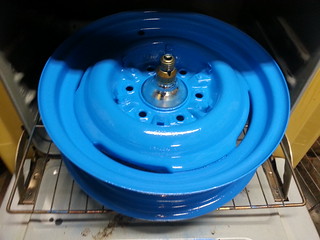
2. Stripping the Wheels and Powder Coating
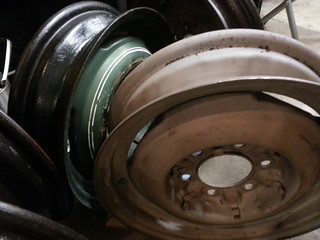


Not feelin’ the color so we’re gonna switch it up to more of a teal … specifically, Sterling Teal Micro Pearl (2nd from the left in the photo below).

.
.
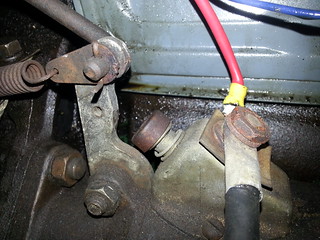
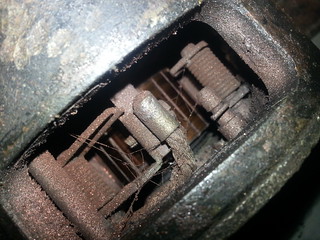
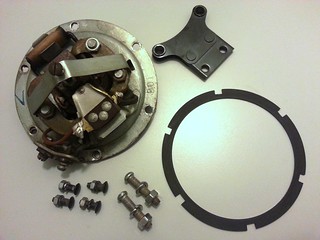
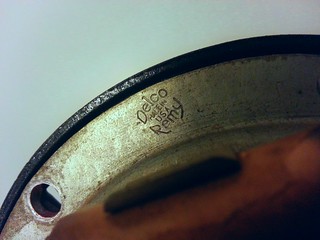
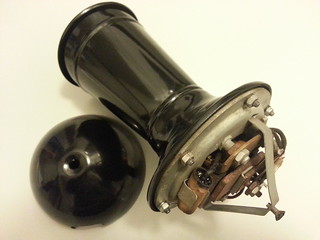
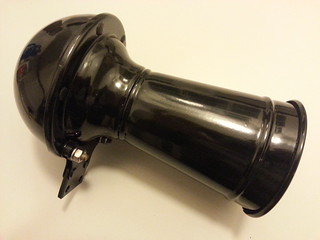
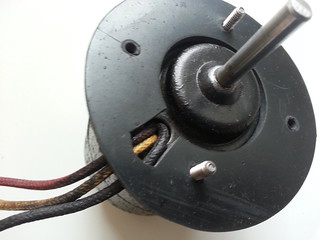
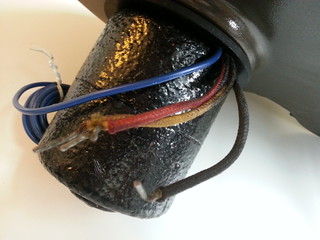
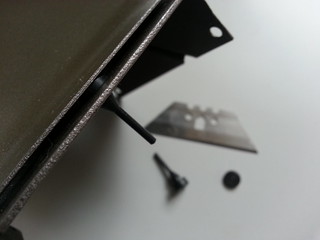
3. Still Working on the Horn
I got the horn working a while back but on the first drive with everything live, it grounded somewhere and wouldn’t stop honking.
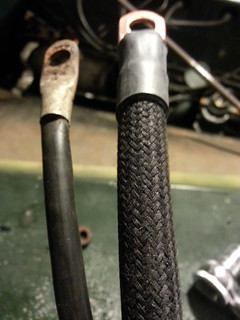
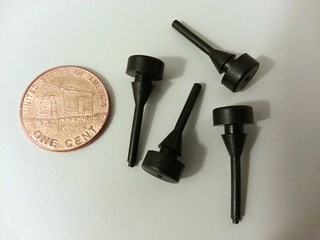
I dug in and found that the contact brush was slipping off the contact ring, into the column and touching the mast spring which was closing the circuit. This was a direct result of the not so perfect quality of the repop steering wheels I mentioned having issues with in a post several months ago. This time it’s the contact brush sleeve. Plain and simple, it’s too damn short (by about 1/4″) and allows the end of the contact to pop out of position which either honks the horn constantly or ends up ripping the end of the brush off, jamming it in the column while you’re trying to pull off the road.
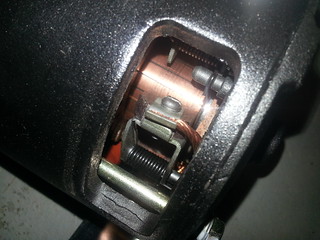
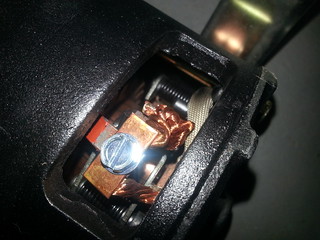
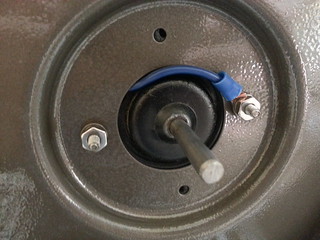
The solution, use an original or NOS sleeve which is about 1/4″ longer. Not so simple. The hole in the wheel is not the right size to fit them so you need to bore it out to 3/8″. With the right bit and a good friend to hold the wheel in place you can widen it with a power drill. It wouldn’t fit on our drill press due to the circumference of the wheel.
Once the sleeve is pressed in with the contact in place and the wheel on the mast you’ll notice that the end of the brush is adequately supported. As a precaution, also made a sleeve out of PVC that fits over the mast spring and protrudes just enough above the contact ring on the mast bearing to prevent the contact from slipping into the column.
.
.
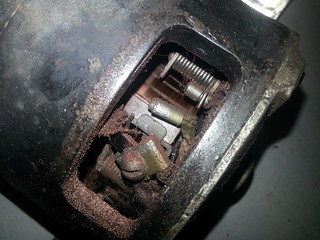
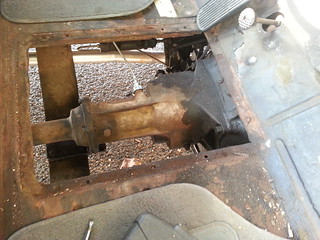
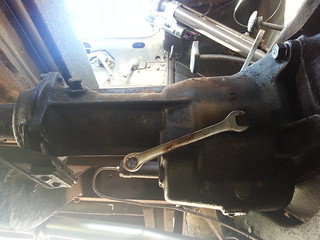
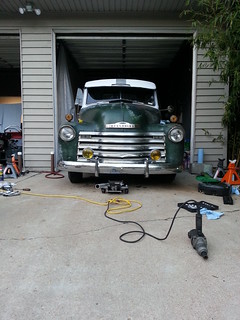
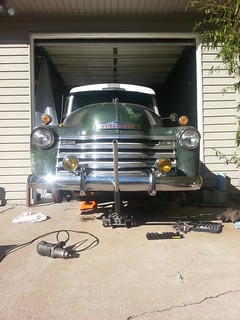
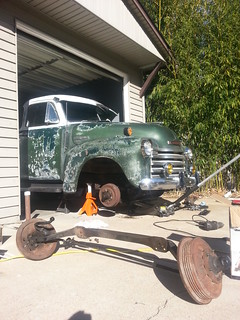
4. Speedometer Woes
Rebuilding the speedometer was one of the first tasks I took on in the restoration once the ol’ girl was running. Almost immediately after the needle began bouncing again. At first it was infrequent, only happening at higher speeds but it eventually got worse. To the point that at speed it would sweep almost the whole gauge. So, while the wheels were off for powder and the truck on stands, I figured I’d take a look at the driven gear for the speedometer located at the transmission. Not sure if it was the culprit but the shaft on the driven gear was obviously a bit bent as it had a bit of an orbit when the gear end was spun. My assumption is that this was causing the cable to bind and release which caused the needle to bounce.
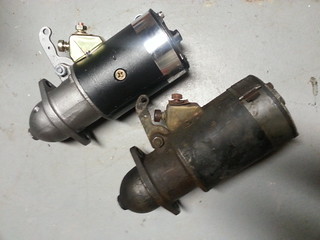
In the photo below, the driven gear on top is from the 3spd transmission on my truck and the one on bottom is from a 3spd out of a ’48 3100 that I had on a shelf. There is a difference in driven gear tooth count and width and they are not compatible with each other’s drive gears.

I ended up purchasing a correct driven gear replacement from a fellow Bolter online. Hopefully this (along with a speedometer correction adapter to compensate for my tire size) cures the issue.
.
.
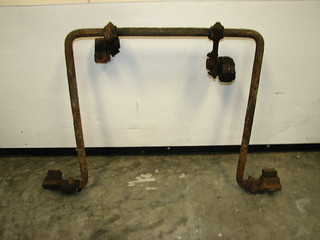
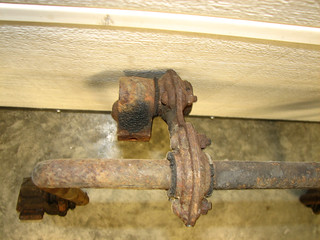
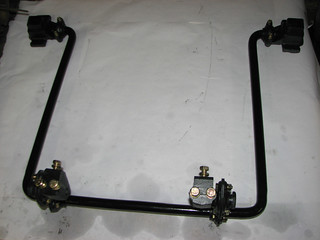
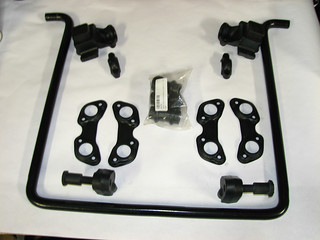
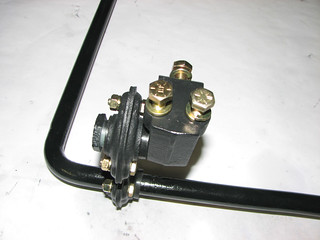
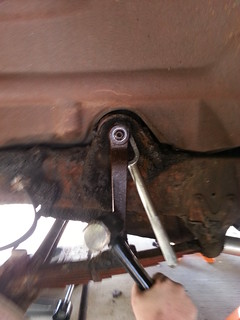
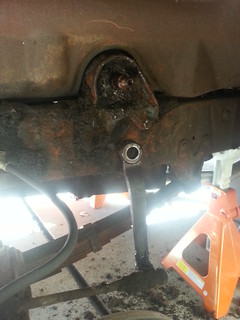
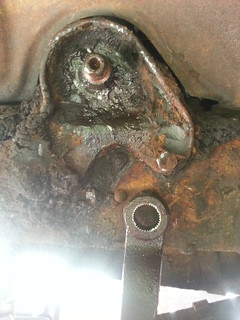
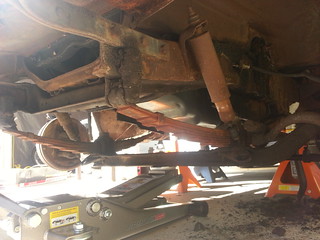
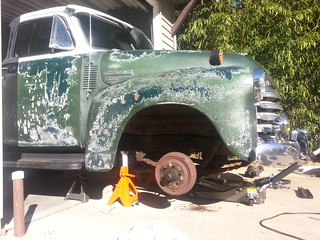
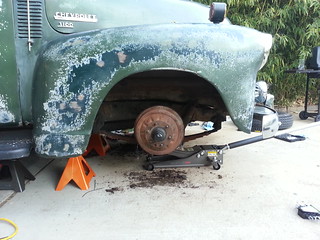
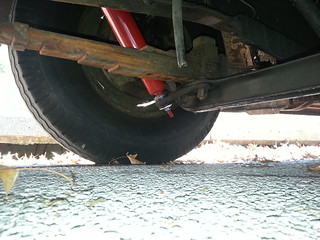
5. Roll Reduction
Found an original restored Chevrolet Advanced Design Suburban sway bar on ebay. Totally at random. I searched my usual terms for all truck parts correct for Bessie and this thing came up at an amazingly low price with 30 seconds left. I bid and won.